Page 2 of 4

Re: The $100.00 endurance bike project!

PostPosted: Sat Jan 23, 2016 6:25 pm
by Peter Balfour
Thanks Kirby, we'll have to look him up!

Re: The $100.00 endurance bike project!

PostPosted: Sat Jan 23, 2016 6:29 pm
by Peter Balfour
Engine inspected, checked valves, removed pan, checked clutch, all in great shape. Gave it a good clean up and a bit of paint and it should be good to install in the frame. :D


Image

Re: The $100.00 endurance bike project!

PostPosted: Thu Feb 04, 2016 10:55 pm
by Peter Balfour
Got the frame back from paint (cost: 1 case of beer :D ) and installed motor. Now the fun starts!


Image

Re: The $100.00 endurance bike project!

PostPosted: Fri Feb 05, 2016 8:42 am
by Justind97
powdercoated??? I'll gladly pay 2 cases of beer for a frame to be powdered!

Re: The $100.00 endurance bike project!

PostPosted: Fri Feb 05, 2016 8:02 pm
by Peter Balfour
It's actually industrial baked paint but looks like powder coat...little easier to deal with. :D

Re: The $100.00 endurance bike project!

PostPosted: Sat Feb 06, 2016 10:26 am
by thelittleguy
Good grief Peter
Even your yard sale bikes look like showpieces
Well done matey
Steve

Re: The $100.00 endurance bike project!

PostPosted: Thu Feb 11, 2016 9:22 am
by Peter Balfour
It's a curse Steve! :lol:

Re: The $100.00 endurance bike project!

PostPosted: Thu Feb 11, 2016 9:26 am
by Peter Balfour
So, I have a bunch of very used TZ bodywork I'm thinking of using on this project. This does 2 things, makes the bike look a little more unique and gets more crap out of my basement. They are too beat up to put on my TZ so the "junk yard dog" is going to get them! :D

I played around with photoshop and created this concept photo...I think my plan should work! (note the new bike make) :D

Image

Re: The $100.00 endurance bike project!

PostPosted: Thu Feb 11, 2016 1:54 pm
by mccoy
I like it.

Re: The $100.00 endurance bike project!

PostPosted: Mon Feb 15, 2016 8:17 pm
by Peter Balfour
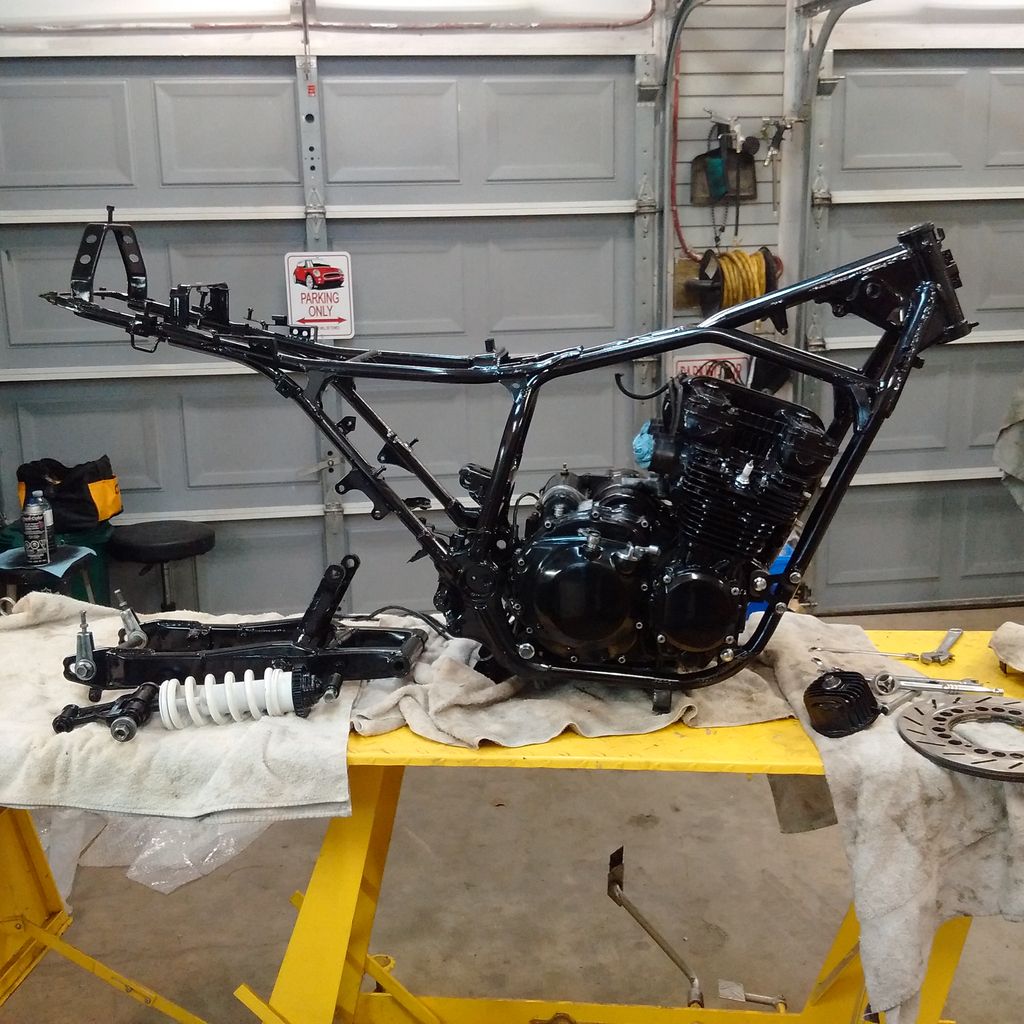
Got a few projects done, forks rebuilt, nice surprise is some previous owner upgraded the springs to progressive style...bonus! The fork seals were toast but otherwise in good shape. Bearings replaced in the swing arm. The rear mono shock seems to work and is not leaking so we will give it a try.

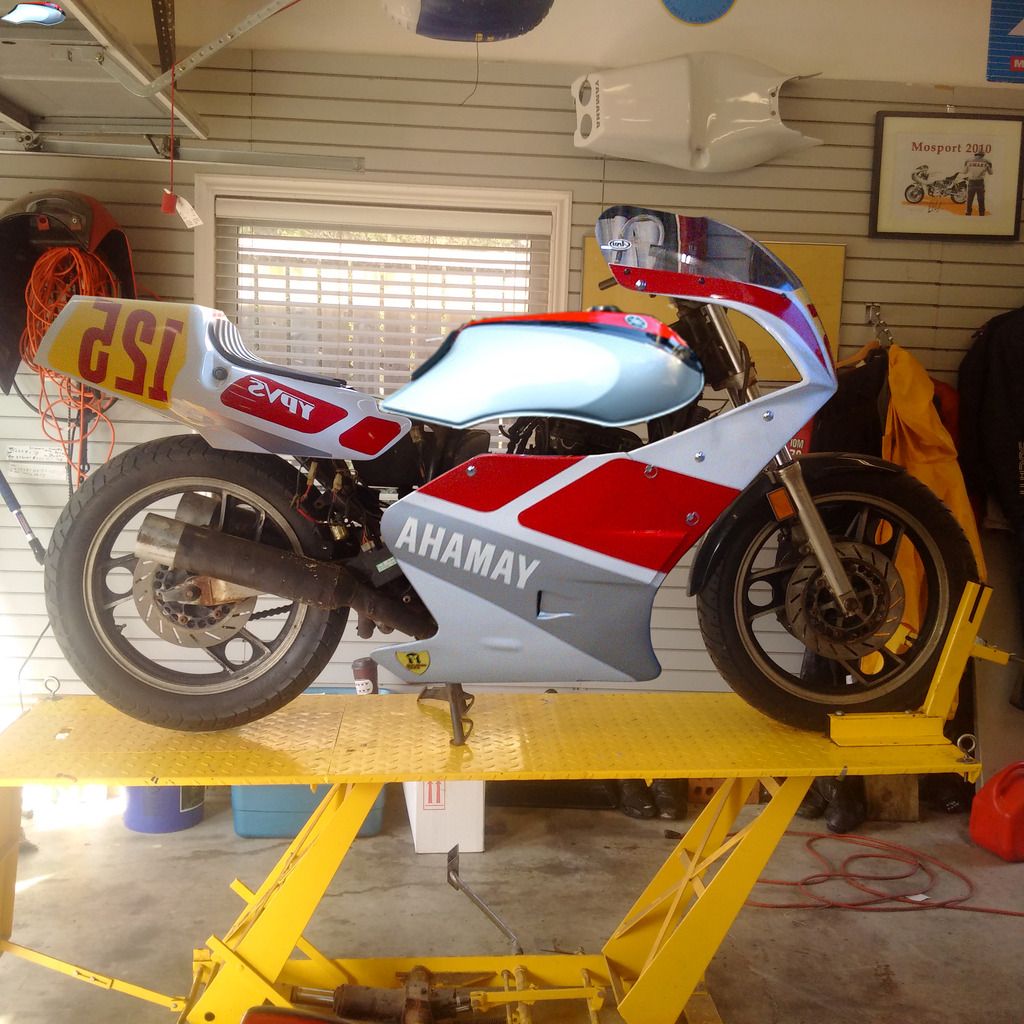
Front wheel had bad bearings so we replaced those. Having a problem seating the bead on the rear Avon tire...we have tried everything. Anybody have a good way to seat a tire bead?

The tank cap had no key so with some drilling and fancy manipulating we finally got the cap off. The inside is not too bad, some surface rust but think we can clean most of it out. However, the cap did not survive.

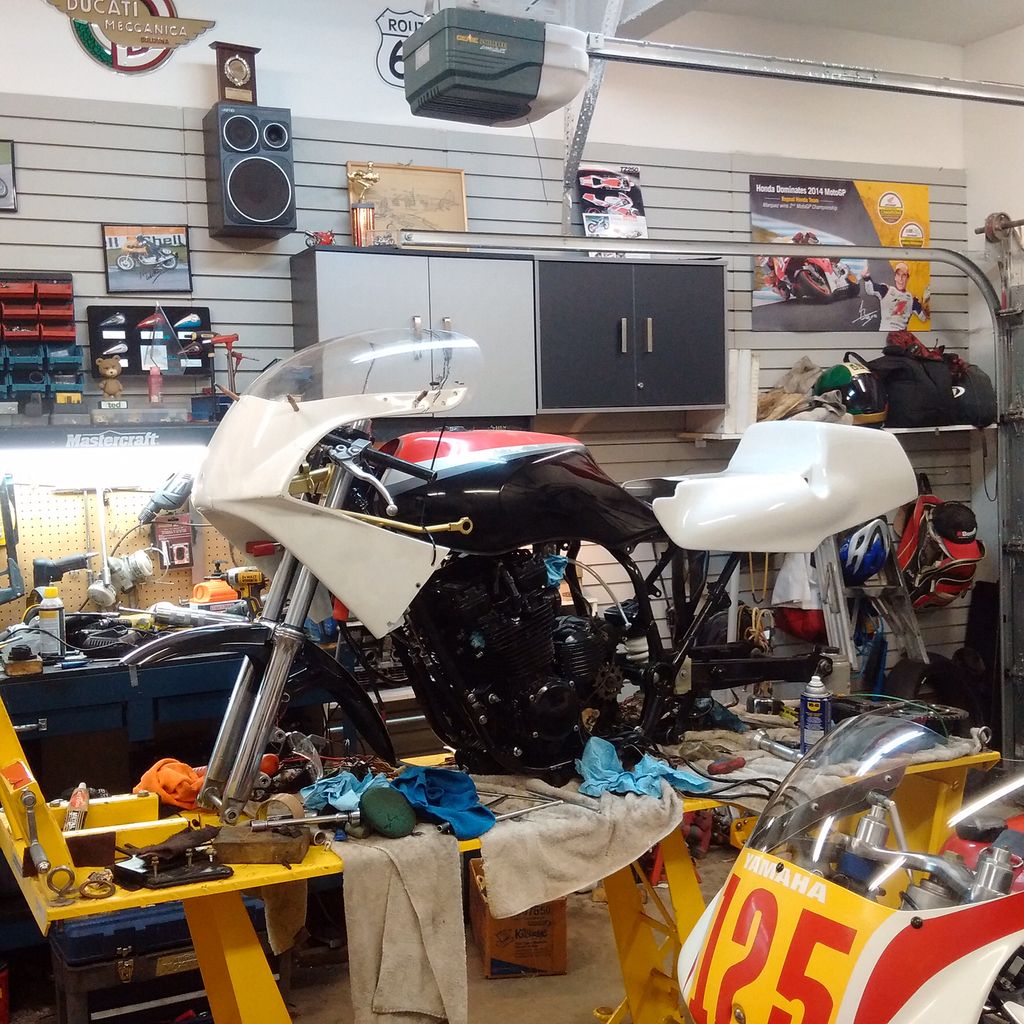
It looks like some trimming we will be able to get the old TZ parts to work.


Image

Re: The $100.00 endurance bike project!

PostPosted: Tue Feb 16, 2016 6:04 am
by Dave M
Following with interest Peter. Looks great so far. The TZ bodywork will add 10 horses for sure!

Re: The $100.00 endurance bike project!

PostPosted: Tue Feb 16, 2016 7:47 pm
by Dave King
This is probably not going to help much at this time of the year, but if the tire hasn't seated yet, at the bike shop where I worked we used to put lots of liquid soap on the bead and rim and inflate them to about 50lb PSI and put them out in the sun. The warmth seemed to soften them and after a while they would seat with a hell of a pop, which always made me jump. Try with the tire nice and warm as June is a long way off.
Dave.

Re: The $100.00 endurance bike project!

PostPosted: Wed Feb 17, 2016 7:25 pm
by relicracer
Hello I had a hell of a time seating the bead on a Hiedeneau rear tire.What finally worked was tire lube and inflating the tire with the valve core out.I hope this works if you haven't already succeded. Wilf

Re: The $100.00 endurance bike project!

PostPosted: Thu Feb 18, 2016 7:12 am
by Justind97
When all else fails, just beat the tire with a hammer. And I mean till it's black and blue... but mainly black.

Re: The $100.00 endurance bike project!

PostPosted: Thu Feb 18, 2016 9:57 am
by Ashton Bond
Deflate, lube the rim base with Crisco, soap bead and mount as per normal. It'll bead right up.